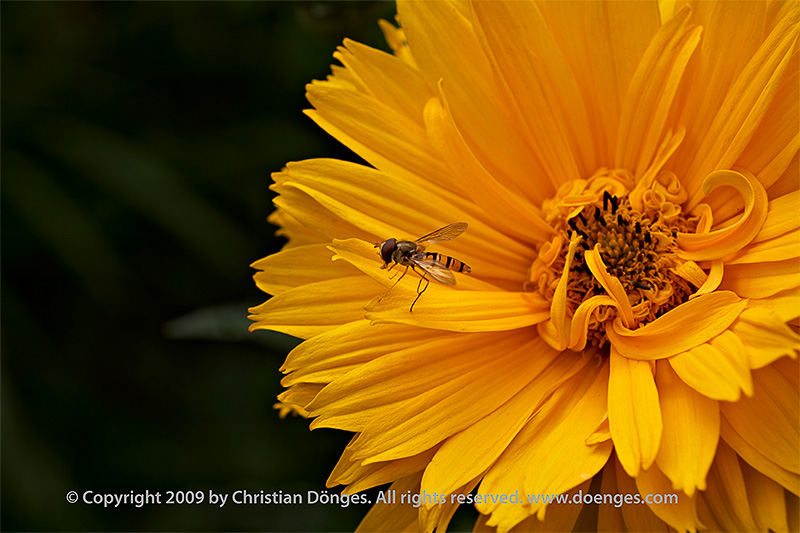
In the last post I showed a picture of a marmelade fly on a yellow flower. I would like to revisit that picture to show how much an image can change depending on how – and with which tools – it is processed.
The original image was captured in RAW format. I then processed it in Adobe Lightroom 2. The result is this:
While I was reasonably happy with the image, I had to do some testing in Capture One Pro and decided to see if I could do better. I have long thought that Capture Ones color rendition is much better than Lightrooms. But judge for yourself:
Quite a difference, don’t you think? The first rendition looks almost like a painting while the second is so real you can almost touch it.
So how was it done?
I first opened the file in Capture One and set the exposure so that none of the color channels would clip. This part is identical to what I did in Lightroom. Note that the yellows are a bit darker in the C1 rendition than in LR. I then exported a 16-bit TIFF file to Photoshop from C1.
In Photoshop I created a mask to darken the green part to the left of the flower using a curve. A second mark darkened the bright leaf to the left and below the marmelade fly. Then I removed some spots from the yellow petals which were really there (i.e. not dust on the lens or sensor) but which I did not like. All of these steps are identical to what I did in Lightroom except that I did not darken the single bright leaf in LR.
I then added a watermark copyright note and reduced the size of the file. Finally, I used Pixel Genius PhotoKit Sharpener for output sharpening. All of this is fully automatic during the Lightroom export.
In total I spent about five minutes in Lightroom to get a decent image. I spent about half an hour in Capture One and Photoshop to get an excellent image. There is clearly a trade-off time for quality here.
That is why I usually perform all my culling, keywording, and rough editing in LR. When I have identified the handful of images with real potential I spend more time on them in C1 and PS. Now if only I could take the LR settings and use them in C1 so that, for example, I do not have to re-crop …
Tags: Capture One, lightroom, Photo, Photography, Technique


